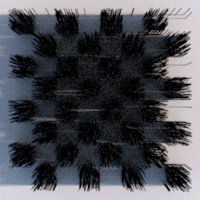
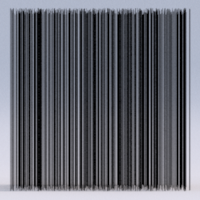
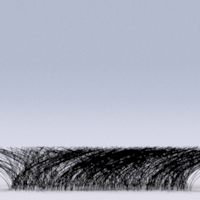
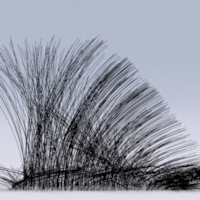
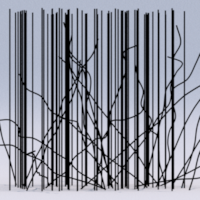
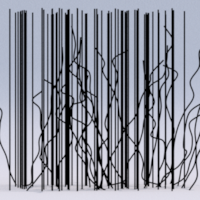
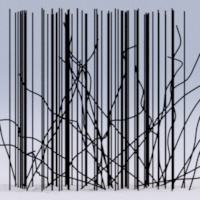
HairAndFur
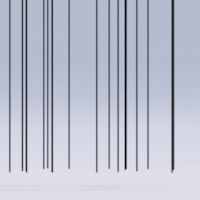
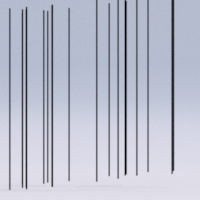
The HairAndFur node is a procedural geometry node. It generates, duplicates, interpolates curves or instances over a scalp mesh.
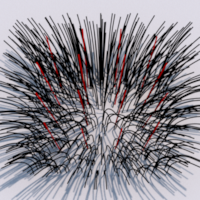
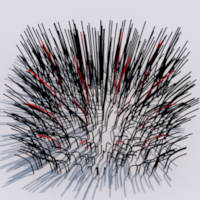
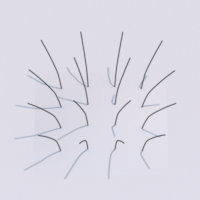
In this documentation, we call guide curves the input curves which are duplicated or control the fur direction. We call fibers the final displayed curves. The scalp meshes are the meshes on which we will generate the fibers. Instances are the geometries which will be instanced.
Workflows
This procedural can be used in different workflows :
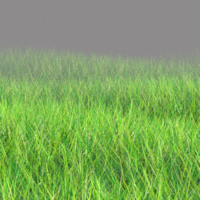
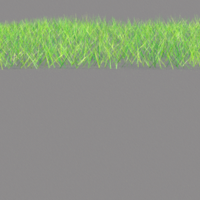
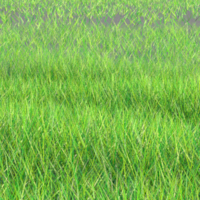
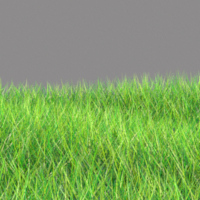
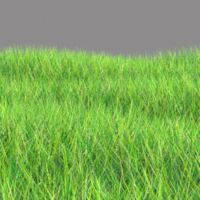
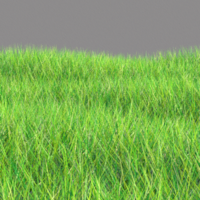
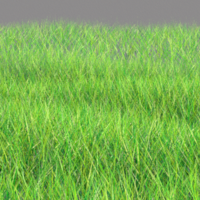
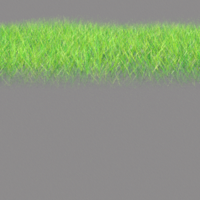
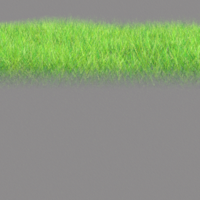
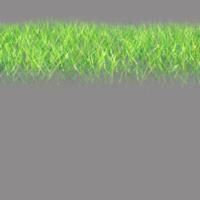
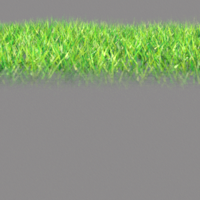
- Simple fur : it generates fur on the scalp meshes with a lot of grooming options. Use this worlkflow for the grass, the cloth materials etc.. See the Generate Fur mode and the
User Guide/Procedurals/Fur section.
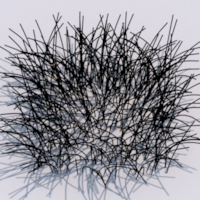
- Oriented fur : it generates fur on the scalp meshes, using textures to orient them. Use this worlkflow for non-dynamic creature fur. See the Generate Fur mode and the
User Guide/Procedurals/Fur section. 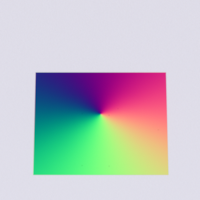
- Guided fur : it generates fur on the scalp meshes and orient them with simulated guide curves. Use this workflow for the dynamic creature fur. See the Generate Fur mode and the
User Guide/Procedurals/Fur section. 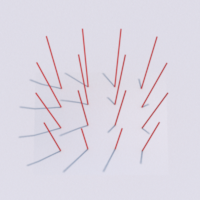
- Hair interpolation : it interpolates simulated guide curves to get a high hair density and add grooming details. Use this workflow for dynamic creature hairs. See the Interpolate Guides mode and the
User Guide/Procedurals/Hair section.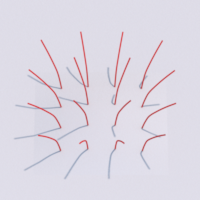
- Hair replication : it replicates the input guide curves in order to add surface attributes on them, like st or the surface normal. See the Replicate Guides mode.
- Instancing : it generates instances on the scalp meshes with a lot of grooming options. Use this workflow to populate a forest or a ground with instances. See the Generate instances mode and the
User Guide/Procedurals/Instances section.
Like the fur, the instances can also be oriented with a texture or some guide curves.

Implentation
Geometry Mode
Controls how the procedural generates the fibers or the instances.
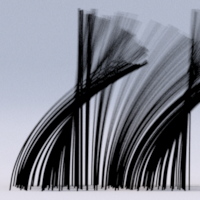
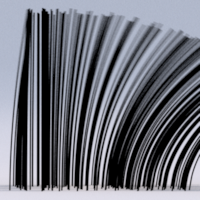
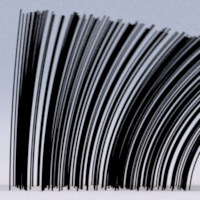
- Interpolate Guides : the fibers geometry is interpolated from the guide curves. This is the mode for the hair duplication. This mode needs guide curves.
- Generate Fur : the fibers geometry is controlled by the procedural (see curvature). The guides are optional. If present, they control the inclination and the orientation of the fibers.
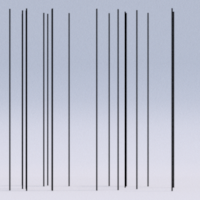
- Replicate Guides : the fibers are the exact copy of the guide curves. This can be used to check the guide curves or to generate the parameters (st, normals) on guide curves with no parameters. This mode needs guide curves.
- Fill Nurbs : Fill the linked Nurbs cylinders (as Scalp) with fibers.
- Generate Instances : the geometries linked in Instances are instanciated in place of the fibers.
Implantation Mode
Controls the baking and the reading of implantation data. Implantation data (the final fiber positions on the scalp meshes and the guide selection per fiber) are stored in the Hair node.
- Disabled : no data are generated or read.
- Baked : the data are generated after the next display update or render of the hairs.
- Read : the data are read from the baked ones.
Guides
The guides are objects composed of curves. Those guide curves can be duplicated (mode Interpolate Guides) or can guide the generated fur (mode Generate Fur). Those parameters control the guide selection and interpolation process.
Selection Radius
Radius of the circle that selects the guides root vertices around a scalp position. This radius is expressed in the procedural local space.
Selection Radius Shader Out
The scalp shader output that multiplies the selection radius.
N Select Min
Minimum number of guides to select.
N Select
Maximum number of guides to select.
Seed
The random generator seed. Modify this value to generate a different set of fibers using the same parameters.
Interpolation
Blend factor between the duplication and the interpolation mode.
- 0 : the fibers are fully duplicated from a single guide of the selection.
- 1 : the fibers are the result of the interpolation of all the selected guides.
- 0.5 : the result is a blend of the interpolated and the duplicated fibers.
Transplant Method
Indicates how guides are duplicated or interpolated into fibers.
- Legacy : guides are duplicated in tubular like strands of fibers.
- Smooth : guides are duplicated using the scalp normal.
Interpolation Shader Out
The scalp shader output that multiplies the interpolation.
Interpolation Method
Indicates which method to use for guides interpolation.
- Spherical : guides are averaged using their distance to the fiber, with the formula (d-Radius)^p..
- Shepard : guides are interpolated with the formula ((d-Radius)/(Radius*d))^p. p is the interpolation parameter below.
Interpolation Parameter
The interpolation method's parameter.
Scalp
The scalp are polygonal objects on which the guide curves will be interpolated or the fur generated. This section control how the scalp objects can be modified before using them.
Scalp Subdivision
Subdivision level to apply to the scalp mesh before generating hairs on it.
Scalp Displace
If true, the procedural will displace the scalp mesh using its displace shader before generating hairs on it.
Object Id
The name of the object id variable of the scalp to use for instances.
Geometry
Those parameters control the geometry of the fibers.
Scale
Global scale of the length and the width of the fibers.
Segments Per Fiber
Number of segments per fiber curve.
- 0 : Use the same segment count than the first connected curve.
- > 0 : Force the final number of segment per fibers.
Density
Those parameters control the fibers density.
Density
Controls the fiber density. The density is expressed in fiber per surface unit in the procedural local space.
Density Exponent
Controls the fiber density with a exponential control. This parameter is equivalent to the density, but has an exponential scale instead of a linear scale. Increasing the exponent by 1 multiplies the density by 2.
Density Noise
Controls the amount of density noise.

Density Noise Frequency
Controls the frequency of the density noise. The frequency is a factor of the scalp 'st' parameters. The bigger the frequency is, the sharper the noise is.

Density Shader Out
The scalp shader output that multiplies the density.
Width
Those parameters control the fibers width.
Use Guides Width
Whenever possible, use the guides width. Otherwise, use the absolute width (see below.)
Absolute Width
If the original guides have no width, or in 'Generate Fur' mode, this value is the fiber width
Root Width
Fiber root width multiplier.
Tip Width
Fiber tip width multiplier.
Width Shader Out
The scalp shader output that multiplies the width.
Length
Those parameters control the fibers length.
Absolute Length
In 'Generate Fur' mode, this value is the fiber length
Length Min
Minimal value that multiplies the guide length.
Length Max
Maximum value that multiplies the guide length.
Length Balance
Balance between length min and length max.
Length Shader Out
The scalp shader output that multiplies the length.
Length Noise
Controls the amount of length noise.
Length Noise Frequency
Controls the frequency of the length noise. The frequency is a factor of the scalp 'st' parameters. The bigger the frequency is, the sharper the noise is.
Fur Curvature
Those parameters control the generated fur curvature.
Root Curvature
Controls the curvature at the root of the fiber. Used only in 'Generate Fur' mode.
Curvature Shader Out
The scalp shader output added to Root Curvature.
Root Curvature Noise
Controls the amount of root curvature noise.
Root Curvature Noise Frequency
Controls the frequency of the root curvature noise. The frequency is a factor of the scalp 'st' parameters. The bigger the frequency is, the sharper the noise is.


Tip Curvature
Controls the curvature at the tip of the fiber. Used only in 'Generate Fur' mode.
Curvature Shader Out
The scalp shader output added to Tip Curvature.
Tip Curvature Noise
Controls the amount of tip curvature noise.
Tip Curvature Noise Frequency
Controls the frequency of the tip curvature noise. The frequency is a factor of the scalp 'st' parameters. The bigger the frequency is, the sharper the noise is.
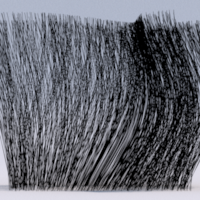
Orientation
Those parameters control the fibers orientation.
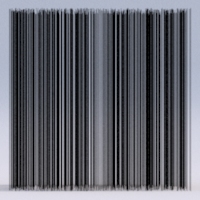
Axis Direction
Controls the fiber main axis, either the surface normal or the world Y direction.
Polar
Controls the fiber rotation around the scalp normal.
Polar Noise
Controls the amount of polar noise.
Polar Noise Frequency
Controls the frequency of the polar noise. The frequency is a factor of the scalp 'st' parameters. The bigger the frequency is, the sharper the noise is.
Polar Shader Out
The scalp shader output added to Polar.

Polar Shader Mode
The scalp shader can return a polar value (1D) or a direction value (3D).
- Angle : the shader value is a grey scale polar value between [0,1] added to Polar.
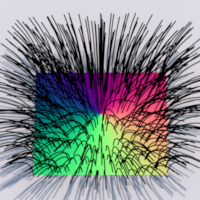
- Direction : the shader value returns a 3D vector in the scalp tangent space. The vector components are stored between [0,1]. The texture complies with the Mari® direction maps. The fur and instances inclination can also be controlled by this map. Use the Fur Guide Inclination attribute for that.
Inclination
Controls the fiber rotation around the scalp tangent vector.

Inclination Noise
Controls the amount of inclination noise.
Inclination Noise Frequency
Controls the frequency of the inclination noise. The frequency is a factor of the scalp 'st' parameters. The bigger the frequency is, the sharper the noise is.
Inclination Shader Out
The scalp shader output added to Inclination.
Fur Guide Inclination
Amount of guide/direction inclination to use.
- 0 : the guides inclination or the direction map inclination are not used in the final fiber inclination. Only the polar angle is used.
- 1 : the guides inclination or the direction map inclination are fully used in the final fiber inclination.
Roll
Controls the fiber rotation around the second scalp tangent.
Roll Noise
Controls the amount of roll noise.
Roll Noise Frequency
Controls the frequency of the roll noise. The frequency is a factor of the scalp 'st' parameters. The bigger the frequency is, the sharper the noise is.
Roll Shader Out
The scalp shader output added to Roll.
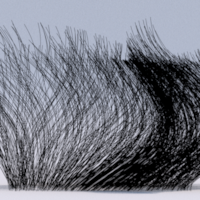
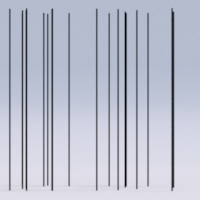
Scraggle
Those parameters control the scraggle effect. This effect add noise on the fibers vertices.
Scraggle
The scrabble add noise on the fiber vertices. This parameter controls the amount of noise.
Scraggle Frequency
Controls the frequency of the scraggle noise along the curve. The frequency is a factor of the curve 'v' parameter. The bigger the frequency is, the sharper the noise is.
Scraggle Surface Frequency
Controls the frequency of the scraggle noise along the scalp. The frequency is a factor of the scalp 'st' parameters. The bigger the frequency is, the sharper the noise is.

Perturbation
Those parameters control the perturbation effect. This effect add noise on the fibers direction.
Perturbation
The perturbation add noise in the fiber direction. This parameter controls the amount of noise.
Perturbation Shader Out
The scalp shader output that multiplies the perturbation.
Perturbation Shape
Controls the frequency of the perturbation noise along the scalp. The frequency is a factor of the scalp 'st' parameters. The bigger the frequency is, the sharper the noise is.
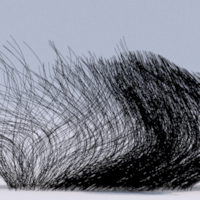
Clumping
Those parameters control the cluming effect. This effect groups bunch of fibers together.
Clumping Mode
The cluming can be done on the guide curves or on some fibers.
- Guides : use the guides as clamping target
- Fibers : use fibers as clamping target
Clumping Density
The density of fiber clamping targets. The density is expressed in fiber per surface unit in the procedural local space. This parameter is used only in 'Fiber' clamping mode.

Clumping Density Shader Out
The scalp shader output that multiplies the clumping density.
Clumping Tip
Amount of cluming at the fiber tip.
- 0 : no clumping
- 1 : fully clumped
- -1 : inverted clumping
Clumping Tip Shader Out
The scalp shader output that multiplies the clumping tip.
Clumping Middle
Amount of cluming at the fiber middle position.
- 0 : no clumping
- 1 : fully clumped
- -1 : inverted clumping
Clumping Middle Shader Out
The scalp shader output that multiplies the clumping middle.
Clumping Root
Amount of cluming at the fiber root.
- 0 : no clumping
- 1 : fully clumped
- -1 : inverted clumping
Clumping Root Shader Out
The scalp shader output that multiplies the clumping root.
Clumping Ratio
Amount of clumped fibers.
- 0 : no fibers are clamped
- 1 : all the fibers are clamped
- 0.5 : half of the fibers are clamped
Clumping Ratio Shader Out
The scalp shader output that multiplies the cluming ratio.

Clumping Middle Position
Offset of the middle position on the fiber.
- 0 : The middle position is merged with the root.
- 0.5 : The middle position is in the middle of the fiber.
- 1 : The middle position is merged with the tip.
Clumping Middle Position Shader Out
The scalp shader output that multiplies the clumping middle position.
Flatness
The flatness parameter flatten the fibers by a projection on the plane tangent to the scalp surface, at the curve basis. If driven by a mindist shading node, this parameter can be used to dynamically (at render time) flatten the fibers with an object, like a foot crushing the grass.
Flatness
Flatten the fibers.
- When flatten, the fibers are sticked on a virtual plane having the same normal than the scalp position from where the fiber starts.
- 0 : the fiber are not flatten.
- 1 : the fiber are fully flatten.
Flatness Shader Out
The scalp shader output that multiplies the flatness.
Crazy Hairs
Those parameters control the crazy hair effect. This effect add some randomness in a fiber subset.
Crazy Hairs Ratio
Amount of crazy fibers.
- 0 : no crazy fibers
- 1 : all the fibers are crazy
Crazy Hairs Amplitude
Random perturbation maximum distance.

Crazy Hairs Amplitude Shader Out
The scalp shader output that multiplies the crazy hair amplitude.
Crazy Hairs Smooth
Blend between the vertex and the global random perturbations.
- 0 : use only the vertex preturbation. The curve is perturbed at every vertex with different random values.
- 1 : use only the global preturbation. The curve is perturbed at every vertex with the same random value.

Crazy Hairs Attenuation
Root attenuation of the perturbation.
- 0 : the crazy effect is done on all the curve.
- 1 : the crazy effect is gradually noticeable along the curve.

Crazy Hairs Exclude From Clumping
Excludes the crazy hairs from clumping.
Wind
Those parameters control the wind effect.
Wind Strength
Amount of wind.
Wind Mode
The wind can be radial or linear.
- Radial : the wind is emitted from the [Center X, Center Z] position.
- Linear : the wind is emitted in the polar direction gived by 'Wind Direction'.
Wind Center X/Z
The wind source position for the 'Radial' mode. This is a 2d world position.
Wind Direction
The wind direction for the 'Direction' mode. This is a polar direction between [0, 1].
Wind Speed
The wind speed in wave length per seconds.
Wind Wave Length
The wind wave length in world units.
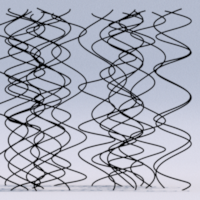
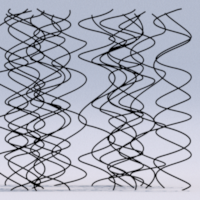
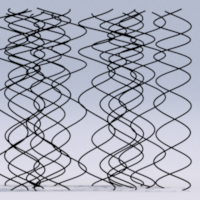
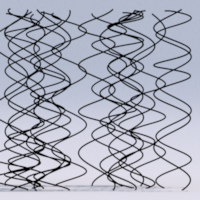
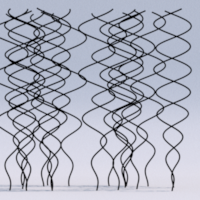
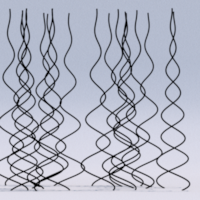
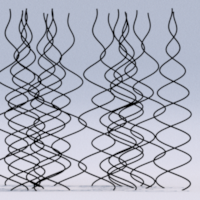
Curls
Those parameters control the curling effect.
Curls Radius
The radius of the curls in the procedural space.
Curls Radius Shader Out
The scalp shader output that multiplies the curls radius.
Curls Radius Noise
The amount of noise in the curls radius.
Curls Radius Noise Frequency
Controls the frequency of the curls radius noise along the curve. The frequency is a factor of the curve 'v' parameter. The bigger the frequency is, the sharper the noise is.
Curls Radius Noise Offset
Controls the curl radius noise offset.
Curls Spin
The number of spins the hair will do around the fiber curve.
Curls Spin Noise
The amount of noise in the curls spins.
Curls Spin Noise Frequency
Controls the frequency of the curls spin noise along the curve. The frequency is a factor of the curve 'v' parameter. The bigger the frequency is, the sharper the noise is.
Curls Spin Noise Offset
Controls the curl spin noise offset.
Curls Surface Noise Frequency
Controls the frequency of the curls radius and spin noise along the scalp. The frequency is a factor of the scalp 'st' parameter. The bigger the frequency is, the sharper the noise is.
Curls Start
Control the progressive start of the curling.

Curls End
Control the progressive ending of the curling.
Offset
Those parameters add an offset to the fibers.
Offset
Add an offset to the curve along the scalp normal vector.
Offset Shader Out
The scalp shader output that multiplies the offset.
Attributes
Those parameters add shading attributes to the fibers.
Generate ST
Add in the fiber the scalp ST parameters. This parameter can be used in the hair shader to texture the fibers.
Generate N
Add in the fiber the scalp normal. This parameter can be used in the hair shader to light the fibers using the scalp normal.
Generate ID
Add a unique ID attribute per fiber. The ID is the fiber number, starting at 0. The ID is generated in the shader variable 'float12'. It can be used in the shader to add some random colors per fiber.
Generate ClumpID
Add a unique ID attribute per clump. The ID is the clumping guide number, starting at 0. The ClumpID is generated in the shader variable 'float13'. It can be used in the shader to add some random colors per clump.
Extra Attributes
The list of extra attributes to read from the scalp and transmit.
LOD
The Level of detail can be used to fade out or blend different levels of detail of fur. Using this technique, you can generate the fur around the camera.

Level 1 Enable
Enable this level of detail level. If enabled, the procedural is view dependent, meaning the procedural is recomputed each time the camera moves.
Level 1 Far
The maximum distance this level of detail is visible.

Level 1 Fade
The distance used to smoothly fade out the level of detail. This distance is also used to blend with the next LOD level. The fading is done using a sampling technique to ensure no visual artefact.
Level 2 Enable
Enable this level of detail level. If enabled, the procedural is view dependent, meaning the procedural is recomputed each time the camera moves.
Level 2 Far
The maximum distance this level of detail is visible.
Level 2 Fade
The distance used to smoothly fade out the level of detail.
Level 2 Density Mul
The density factor to apply to this level of detail. If < 1, the number of fibers will be reduced in this level of detail.
Level 2 Width Mul
The width factor to apply to this level of detail. If > 1, the width of the fibers will be enlarged.
Level 3 Enable
Enable this level of detail level. If enabled, the procedural is view dependent, meaning the procedural is recomputed each time the camera moves.
Level 3 Far
The maximum distance this level of detail is visible.
Level 3 Fade
The distance used to smoothly fade out the level of detail.
Level 3 Density Mul
The density factor to apply to this level of detail. If < 1, the number of fibers will be reduced in this level of detail.
Level 3 Width Mul
The width factor to apply to this level of detail. If > 1, the width of the fibers will be enlarged.
Advanced
Verbose
Display informations about the hair process in the console.
OpenGL Ratio
Amount of the fibers to display in the OpenGL viewport.
- 0.1 : 10 percent of the fibers are visible.
- 1.0 : All the fibers are visible.
Bounds Extension
Extends the Hair bounding box. You may need to extend the Hair bounding box if for some reason, some hairs go outside of the computed bounding box.
Motion Steps
Number of motion blur steps.
- 0 : use the maximum motion steps available in the scalp and the guides
- 1 : no motion blur
- N : force the number of motion steps.
Scalp
The link button to select the scalp mesh. Only a single scalp mesh is allowed
Scalp Set
The object set to assign as scalp. Only a single scalp mesh is allowed
Guides
The link button to select the guide curves. You can select multiple guide curves or guide curve bunch, but they should have the same number of vertices and have the same set of parameters.
Guides Set
The object set to assign as guides. You can select multiple guide curves or guide curve bunch, but they should have the same number of vertices and have the same set of parameters.
Instances
The link button to select the instanced objects. You can select multiple instances.
Instances Set
The object set to assign as instances. You can select multiple instances.