Fur
The fur workflow
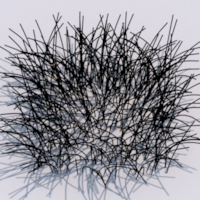
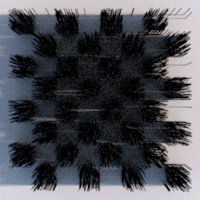
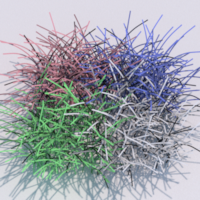
The Guerilla fur workflow is a solution to render a high (millions+) number of hair. The Fur procedural generates fur at render time, keeping the complexity at the end of the rendering process. The simulation and the export processes stay light.
Generate the fur
The Fur node is a procedural geometry node. It acts like a regular mesh node (shaders, sets can be assigned to it using the RenderGraph) but it generates its geometry. It can be linked to other mesh nodes, like the scalp meshes and the guide curves.
- Create a
Procedurals/Fur node.
The scalp mesh
The scalp is the mesh on which the fur is generated.
Use this method to get an OpenGL feedback of the procedural.
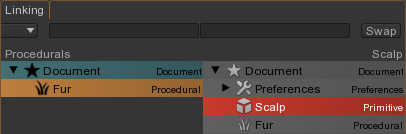
- Select the Fur procedural node.
- Open the 'Procedural' tab.
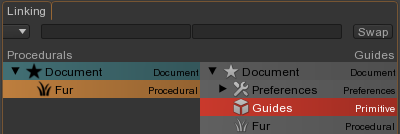
- Press the 'Scalp -> Edit' button.
- In the linker window, select in the right column the scalp mesh.
Use this method to connect the procedural using the RenderGraph. This connection method won't work with OpenGL.
- Put the scalp objects in a specific set, like "Scalp" using the RenderGraph.
- Select the Fur procedural node.
- Add to the attribute
Fur -> Procedural -> Scalp Set the new set.
Control a fur attribute with a sub shader
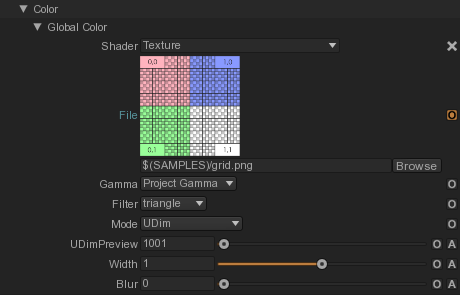
Most fur attributes, like the density or the orientation, can be controlled by a scalp objects sub shader, like a simple texture, or any other sub shader expression.
In the
- In the RenderGraph, add on the scalp objects a
RenderGraph/MaterialOverride node.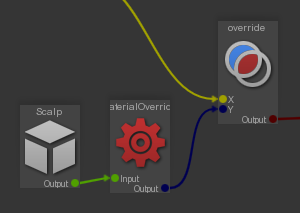
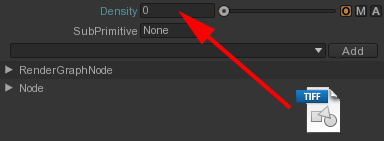
- In the MaterialOverride node, add a float attribute named like the name defined in the Fur procedural, Density here.

- Drag and drop your mask texture on the edit box.
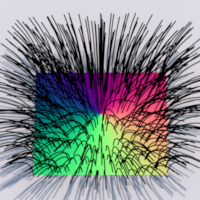
Orient the fur
The fur can be oriented or not. To orient the fur, you have to paint direction maps in a painting tool (like Mari®) or export some guides from any third party grooming solution (like Maya® Hair or Shave and Haircut®). Then export everything in Guerilla Render.
Using a texture sub shader
The simplest solution to orient the fur is to use a texture sub shader. There is two types of textures. The polar maps, generated by Maya Fur, and the direction maps, generated by Mari®.

- Set the
Fur -> Procedural -> Orientation -> Polar -> Polar Shader Mode attribute to Polar or Direction. - As explained before, add to the scalp objects color sub shader named Polar and drop your texture into it.
Using guide curves
Another solution to orient the fur is to use guide curves. The guide curves can be simulated in a third party tool. The fur procedural interpolates the guides to get the fur orientation and inclinaison.
The guides can be any kind of curves. For example :
- A Maya® Hair node with guides inside
- A group node with Maya® curves inside
- A Shave And Haircut® node
- Alembic curves
Use this method to get an OpenGL feedback of the procedural.
- Select the Fur procedural node.
- Open the 'Procedural' tab.
- Press the 'Guides -> Edit' button.
- In the linker window, select in the right column the guide curves object.
Use this method to connect the procedural using the RenderGraph. This connection method won't work with OpenGL.
- Put the guide curves object objects in a specific set, like "Guides" using the RenderGraph.
- Select the Fur procedural node.
- Add to the attribute
Fur -> Procedural -> Guides Set the new set.
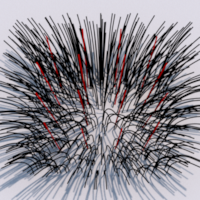
Bake the implantation
If you are doing an animation, you probably want the fur implantation to be consistent over time to avoid flicking. To do that, you have to bake the fiber implantation.
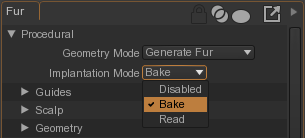
- Select the Fur procedural node.
- Turn the 'Implantation -> Implantation Mode' to 'Bake'
- Wait for an OpenGL update or render the procedural
- Turn the 'Implantation -> Implantation Mode' to 'Read'
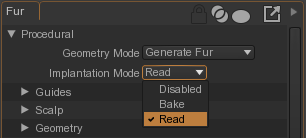
Now the implantation is always the same. The Implantation parameters are no longer used.
Shading
The Fur procedural can generate fiber attributes to control the hair shader.
You can activate those attributes in
The ST attribute
Add in the fiber the scalp ST parameters. You need to turn this on to map textures on the fur using the scalp texture coordinates.
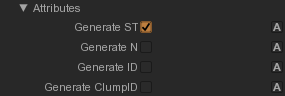
The N attribute
The Curves shader can compute the curves diffuse BSDF like a surface diffuse BSDF, using the surface normal. To do that, actvate the N attribute and set the
The ID attribute
The curve id is always available in the shader, you don't need to compute it anymore.
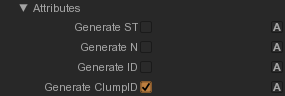
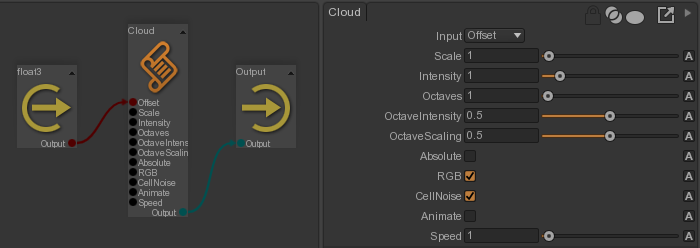
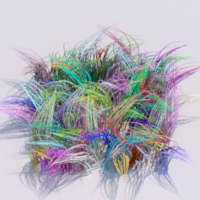
The ClumpID attribute
Add a unique ID attribute per clump. The ID is the clumping guide number, starting at 0. The ClumpID is generated in the shader variable float13. It can be used in the shader to add some random colors per clump like the ID attribute.