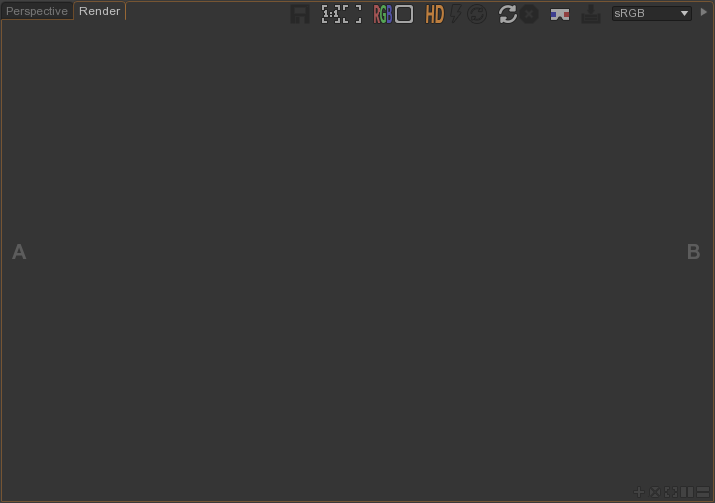
Render
The Render view is the place where a rendered image get displayed.

Image
You can kick off a new Render view that starts immediatly rendering.- Create a Render view and render by pressing Ctrl+R.
- Create a Render view and render by using 'Menu bar > Render > Render View' and pressing F5.
You can render only a part of the image by first creating a region and then render. It's useful when you tweak parameters that affect only a specific region of the image since it avoid a full image render.
- Stop the current rendering by pressing Shift+ESC.
- Create a region by holding down Shift and
 , moving mouse, then releasing mouse button.
- Close a region by clicking on the
 button at its top right corner.
Creating a region in a Viewport is also possible. Beside it kicks off immediatly a render of the region. The renderer will use its own render settings.
- Select Preferences in a Browser or Node List view or by pressing Ctrl+P.
- Change Viewport Render Settings in 'Preferences > RenderViewport Setting'.
Sequence of images
You can render a sequence of images on your workstation.
- Render a sequence of images by using 'Menu bar > Render > Batch Render' or pressing Ctrl+Shift+R.
You can render a sequence of images on a render farm if it has been setup.
- Render a sequence of images on the farm by using 'Menu bar > Render > Farm Render'.
Batch and Farm Render both use a range if the range has been explicitly specified.
- Specify range by filling text box in 'Preferences > Render > Render Range'.
If the range has not been explicitly specified then Batch and Farm Render use the active animation range of the Timeline.
Buttons
- Save image: Save the image displayed in buffer A
- Frame 1:1: Frame the image to 1:1 ratio
- Frame all: Frame the image to fit in view
- Display Mode: Toggle between RGB, Alpha, R, G, B and Luminance display
- Alpha Mode: Toggle between None, Checker or Black display
- Toggle Low/High Quality: Toggle between Low and High rendering quality One can change the Low quality rendering settings in 'Preferences > Local Settings > Low Quality Settings'
- Update: Render the image
- Stop: Stop the current rendering
- Stereo: Toggle between Stereo, Left only and Right only display
- A buffer AOV: Select the displayed AOV's layer in A buffer
- A buffer channel: Select the displayed channel and eye in A buffer
- Push A: Push the currently displayed image in A buffer into the render stack
- B buffer AOV: Select the displayed AOV's layer in B buffer
- B buffer channel: Select the displayed channel and eye in B buffer
- Push B: Push the currently displayed image in B buffer into the render stack
- Screen gamma/lut: Toggle the screen gamma/lut
Controls
Speak here on what happens when clicking around on keyboard and/or mouse.