Hair
Use the Hair material to render hair, fur and curves.
This material is composed of 3 specular components, the primary corresponding to reflections on the surface of the fibers, the secondary corresponding to internal reflections inside the fibers, and the back corresponding to transmission through the fibers.
Additionally, reflections between fibers are simulated with a multiple scattering approximation. Eventually, a simple non physically based diffuse component is provided.
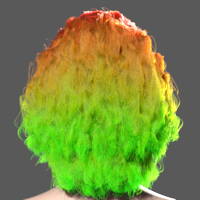
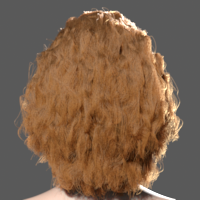
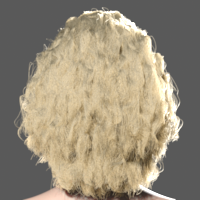
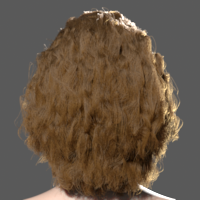
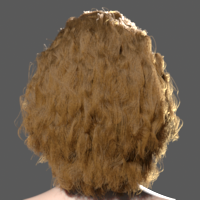
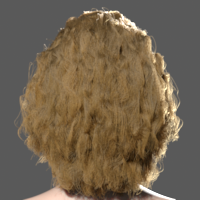
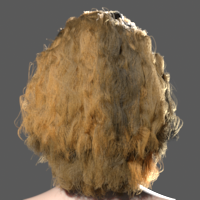
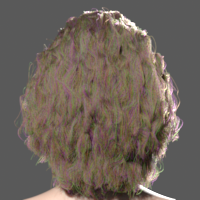
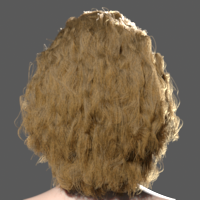
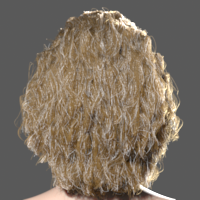
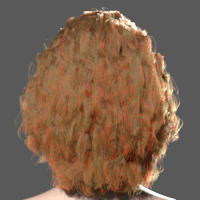
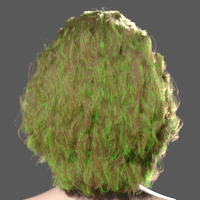
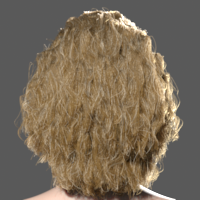
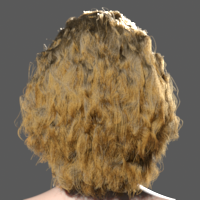
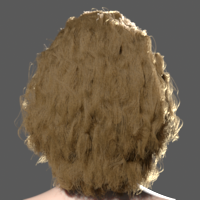
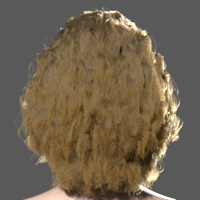
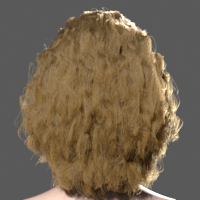
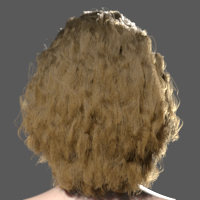
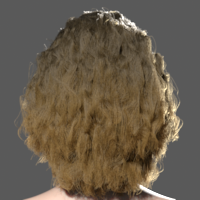
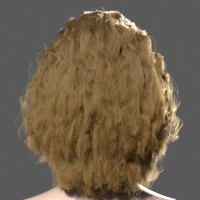
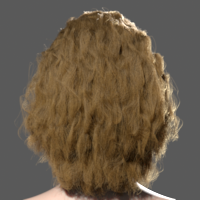
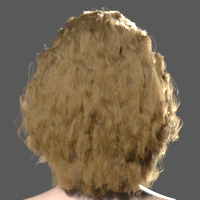
Tweak the following sliders to see the aspect of each component:
|
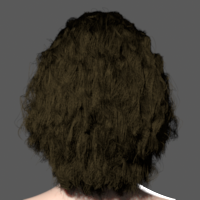
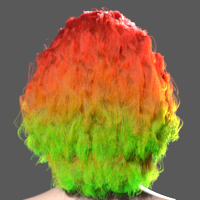
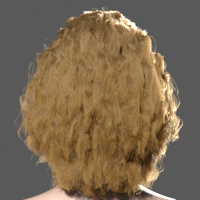
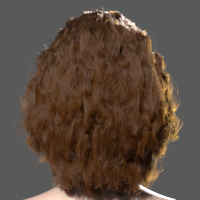
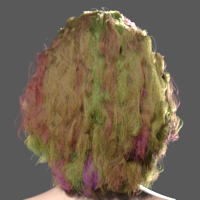
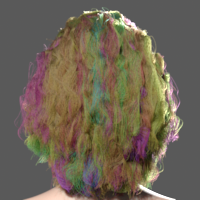
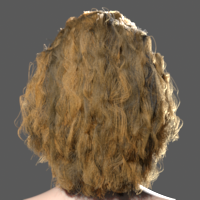
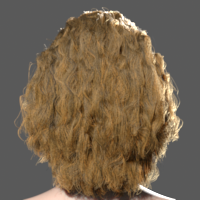
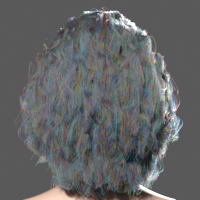
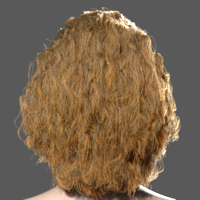
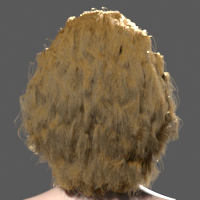
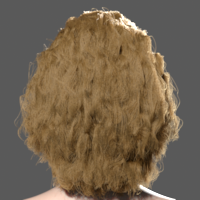
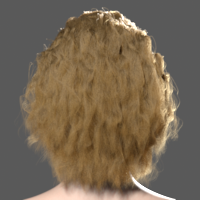
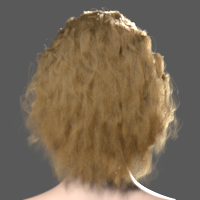
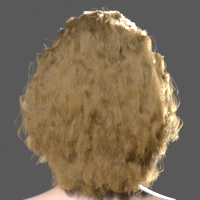
Tweak the following sliders to see the aspect of each lighting contribution (note that these are not parameters of the material but intensities of the front, back and environment lights):
|
Components
Primary
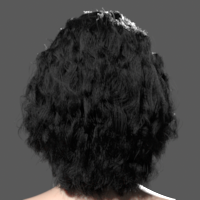
Secondary
Back
Multiple Scattering
Diffuse
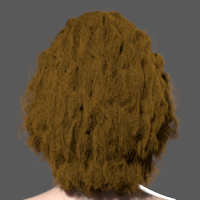

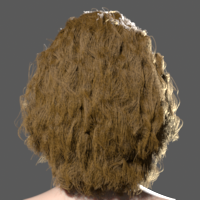
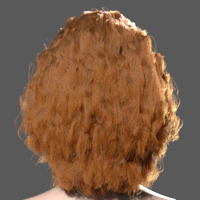
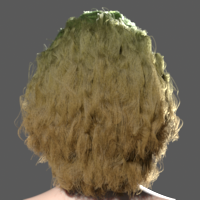
Color
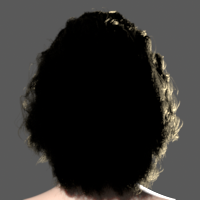
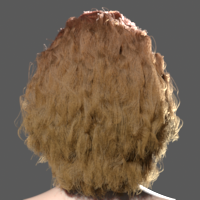
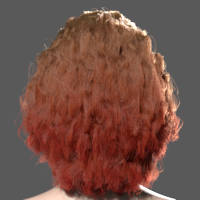
You can specify the hair color in many ways :
- Using the
Color attribute, a simple RGB color. - Using the
Melanin attributes to control the hair melanin density, to get plausible human hair colors. - Using the
Absorption attribute with mesured RGB absorption values.
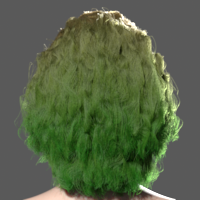
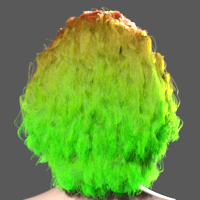
Modulate the color from the tip to the root using the
Randomize the hair color per clump or per fibers using the
Add mutant hairs, like white hairs, using the
Color


Root Color

Tip Color

Color Shape
Absorption
Specifies the fiber absorption properties, for red, green and blue. The corresponding
color is multiplied to the general
To render the hair with a specific absorption, set
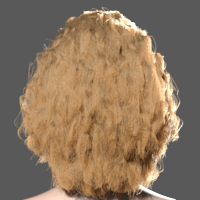
Melanin Density
Specifies the density of melanin which contributes to the hair resulting color.
This parameter along with
Similarly to
To render the hair with a specific melanin density, set

Melanin Mix
Specifies the ratio between eumelanin and pheomelanin in the fibers. Lower values result in darker and brown hair color, higher values result in lighter and red hair color.

Clump Hue Random

Clump Value Random


Clump Random Scale
Fiber Hue Random

Fiber Value Random

Fiber Mutant Color
Fiber Mutant Ratio


Specular
These parameters control the appearance of the specular components.
Width

Shift
Self Shadow
Self shadowing attenuates the hair color at the root of the fibers.
Amount

Position


Opacity
Opacity controls the opacity of fibers.
Opacity

Tip Fade

Shadow Opacity

Advanced
Primary -> Color
Multiplies the final color of the primary specular.
Primary -> Width
Multiplies the width of the primary specular.
Primary -> Shift
Multiplies the shift of the primary specular.
Secondary -> Color
Multiplies the final color of the secondary specular.
Secondary -> Width
Multiplies the width of the secondary specular.
Secondary -> Shift
Multiplies the shift of the secondary specular.
Glints -> Color
Multiplies the final color of the glints specular.
Glints -> Width
Controls the azimutal width of the secondary glints.
Glints -> Half Angle
Controls the azimutal shift of the secondary glints.
Back -> Color
Multiplies the final color of the back specular.
Back -> Width
Multiplies the width of the back specular.
Back -> Shift
Multiplies the shift of the back specular.
Back -> Azimutal Width
Controls the azimutal width of the back specular.
Multiple Scatter -> Back Direct
Multiplies the Back Direct component of the multiple scattering component.
Multiple Scatter -> Single Scatter
Multiplies the Single Scatter component of the multiple scattering component.
Multiple Scatter -> Back Scatter
Multiplies the Back Scatter component of the multiple scattering component.
Multiple Scatter -> Density
Controls the density of fibers for multiple scattering. 0 results in no multiple scattering (no fiber to scatter light with), 1 results in maximum multiple scattering. Human hair typically have 0.7 density.
Diffuse -> Color
Multiplies the Diffuse component color. Note that Diffuse uses the general color settings.
Diffuse -> Power
Controls the exponent of the Kajiya-Kay diffuse component. 0 results in omni directional diffuse, higher values result in sharp specular-like component.
Ray Depth
Controls the number of bounces the Hair material allows. -1 leaves this value unchanged from the Diffuse Bounces setting of the RenderPass.
Ray Length
Controls the maximum ray length for bounces. Shorter values result in less indirect illumination and shorter rendering time.
Direct Sampling
Multiplies the number of rays shot towards the lights for direct lighting.
Indirect Sampling
Multiplies the number of rays shot towards surrounding objects for indirect lighting.
Trace Set
Specify the raytracing set for direct and indirect lighting.
References
[Marschner03] "Light Scattering from Human Hair Fibers", Stephen R. Marschner, Henrik Wann Jensen, Mike Cammarano, Steve Worley, Pat Hanrahan
[Zinke08] "Dual Scattering Approximation for Fast Multiple Scattering in Hair", Arno Zinke, Cem Yuksel, Andreas Weber, John Keyser
[d'Eon11] "An Energy-Conserving Hair Reflectance Model", Eugene d’Eon, Guillaume Francois, Martin Hill, Joe Letteri, Jean-Marie Aubry
The hair model is provided by Cem Yuksel, and can be downloaded at http://www.cemyuksel.com/research/hairmodels/.