Controlling rendering noise
The rendering quality, that is the amount of noise, is controlled by the
Render Settings > Samples, Render Settings > Adaptive Threshold
and Render Settings > Adaptive Min Samples.
Using Fixed Sampling
Set Adaptive Threshold to 0. The renderer will shoot
Samples per pixel uniformly.
Decrease the rendering noise by increasing Samples.
This will naturally increase the rendering time.


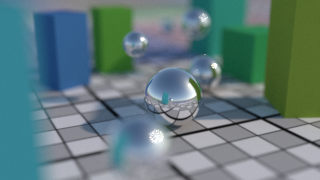
Use the Confidence AOV to inspect the rendering noise level estimated by
the renderer. The darker the image, the lower the noise is.

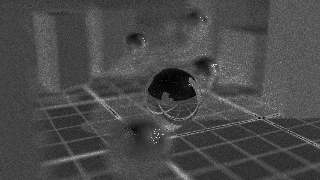
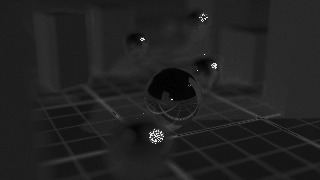 Fixed sampling produces images which are evenly sampled, but not evenly noisy,
since some parts of the image can be much more difficult to render and require much
more samples than the rest. Use Adaptive Sampling to control the overall image quality
instead.
Using Adaptive Sampling
The renderer will keep on sampling pixels until their noise level is below
Adaptive Threshold, in the limit of Adaptive Min Samples
and Samples.
Adaptive sampling produces images which are evenly noisy, and is very helpful to
render effects notably difficult, like bokehs, motion blurred specular highlights or
fireflies, and last but least, prevents oversampling areas of the image that already
achieved an acceptable level of noise.
While fixed sampling produces images in a fairly predictable time, adaptive
sampling produces images in a fairly predictable quality, although Guerilla provides
means of estimating the final rendering time. This statement should help you
choose between fixed and adaptive sampling.
Samples
Samples is the maximum number of samples per pixel the renderer
can shoot. This value is safety guard against ultimately difficult situations,
where it would shoot to millions samples per pixel. It is recommended to set this
as high as possible (yet reasonably) to prevent undersampling artefacts.
Adaptive Threshold
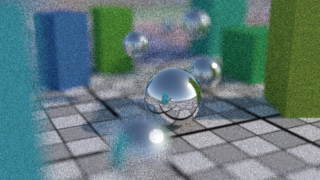
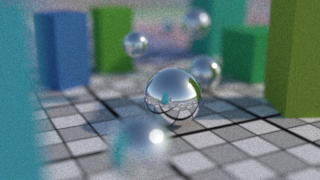
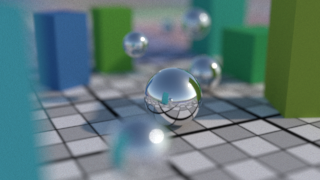
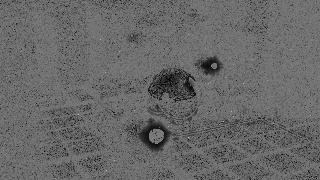
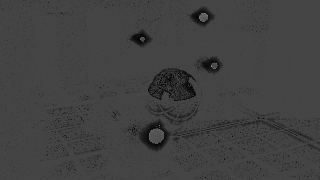
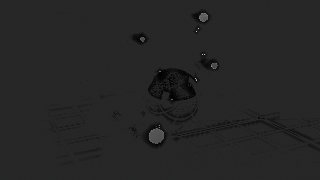
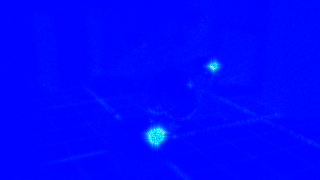
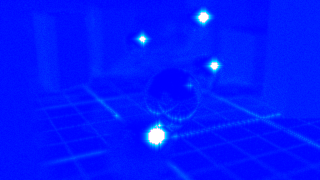
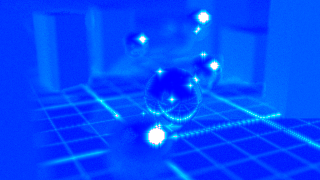
Set Adaptive Threshold to any positive value, the lower it
is, the lower the noise level is.
Adaptive Min Samples
Adaptive Min Samples is the minimum number of samples per pixel
the renderer will shoot before going adaptive. This parameter is useful in (rare)
situations where the renderer requires a minimum number of samples per pixel to
discover a feature of the image, such as a caustic or a glossy motion blurred
specular for instance. 16 is considered a rather safe value, while 2 is fairly
aggressive, and may produces noticeable artefacts.
More controls on sampling
Time Jitter
This option enables the sampling pattern to be dependent on the frame number. When rendering large depth of field
blurs, you can turn this option off so the noise in the blur doesn't change from a frame to the next (but this can
cause disturbing aliasing patterns if the camera moves.)
Motion Blur
This option enables the motion blur sampling. If you want to recreate motion blur from motion vectors in
compositing, turn this option off.
Motion Blur Density
This option changes the way the shutter range is sampled. By default, the shutter range is uniformly sampled,
resulting in a uniform trail of blur.
Change this option to Trailing if you want the motion blur to appear behind, or to Leading if you want the motion
blur to appear in front.


