Surface2
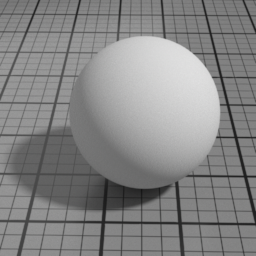
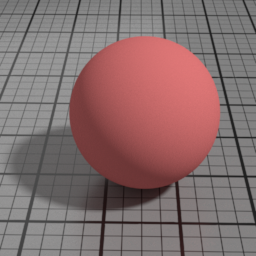
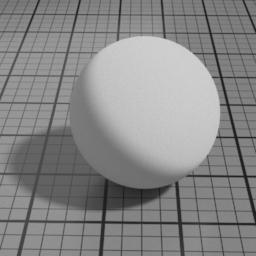
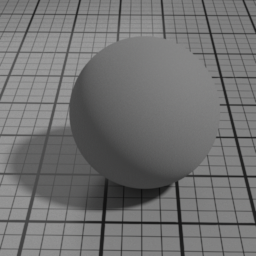
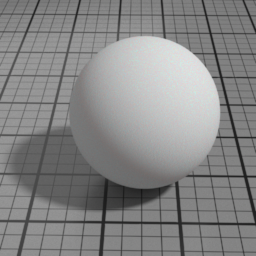
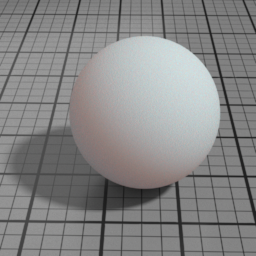
The Surface2 material is a general purpose material that can render a broad range of surfaces with a realistic look and offers consistent responses under different lighting conditions.
Surface is a layered shader, with the different layers present applied from top to bottom:
|
Layers
Dirt
Dirt is the topmost diffuse layer. It linearly blends with all layers below, and mute them completely when set to 1.


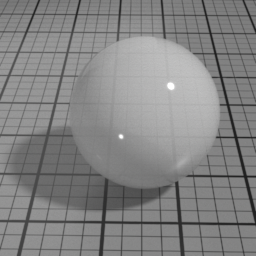
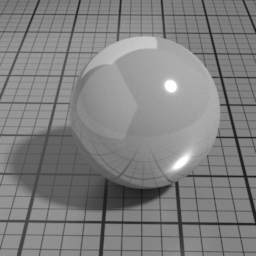
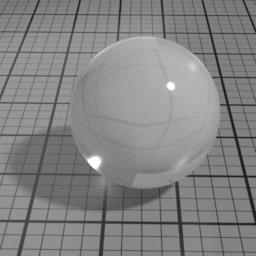
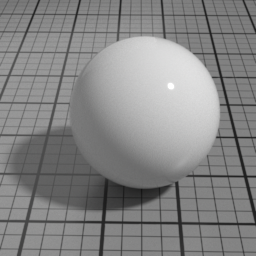
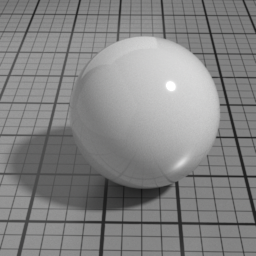
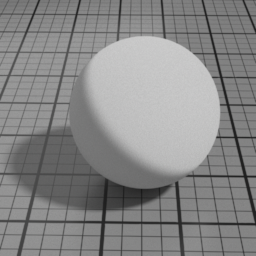
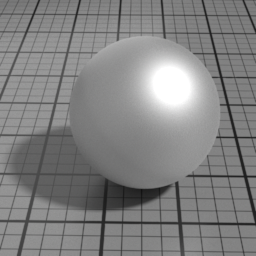
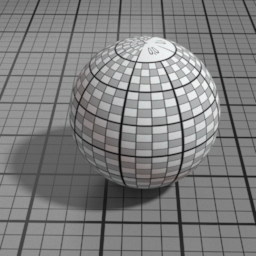
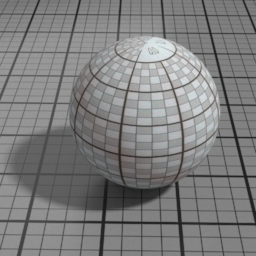
Spec2
Spec2 is a clear coat GGX specular layer. It blends with below layers using Fresnel factors. Use it to render effects such as a varnish, a layer of water or oil.


Metal
Metal is a pure GGX specular layer. It linearly blends with all layers below, and mute them completely when set to 1.


Spec1
Spec1 is a GGX specular layer. It blends with the below Glass/SSS/Diffuse layers using Fresnel factors.


Velvet
Velvet is a flipped GGX specular layer, which simulates small details which are mostly perpendicular to the surface normal, such as micro hair.

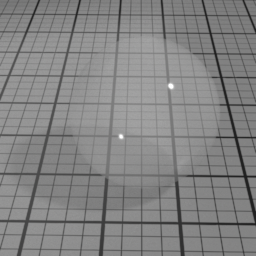
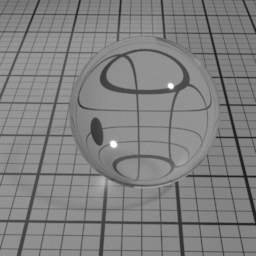
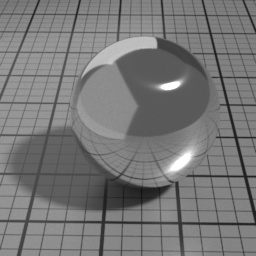
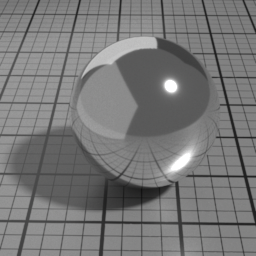
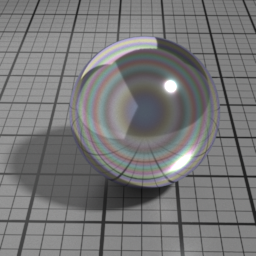
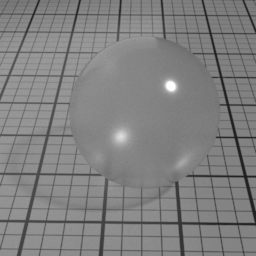
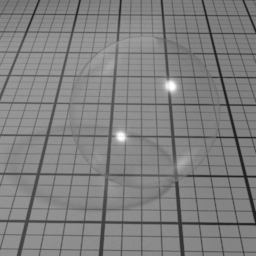
Glass
Glass is a GGX refraction layer, which simulates refraction in homogeneous materials, such as water, glass, ice. It linearly blends with the SSS/Diffuse layers, and mute them completely when set to 1.


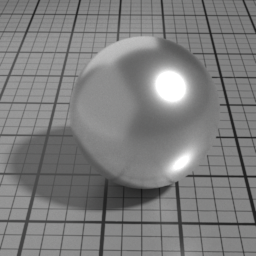
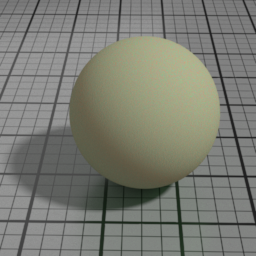
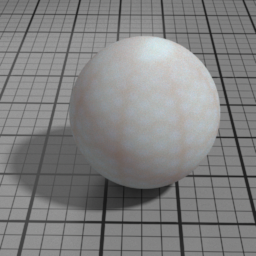
SSS
SSS is a simulated subsurface scattering layer, composed of 3 gaussian diffusion layers. Use this to simulate translucent materials such as skin, marble ... It linearly blends with the Diffuse layer.

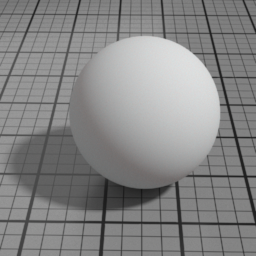

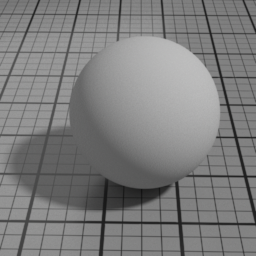
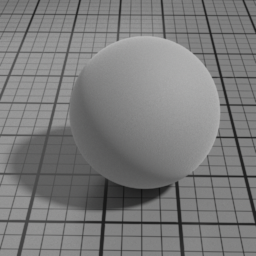
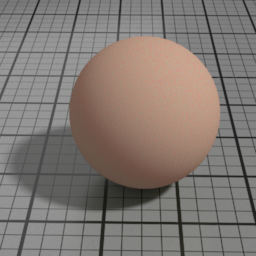
Diffuse
Diffuse is the lowest layer in the list.
The Surface2 material is, for most parts, energy preserving, meaning it avoids creating/absorbing energy, and behaves consistently in all lighting conditions. Especially, the SSS and Diffuse layers are compensated with the Spec1 and Velvet layers to appear dimmer when Spec1/Velvet are brighter.
Yet, to allow for peculiar situations, some parameters can be used in a non energy preserving fashion. These uses are allowed, but can generate visible artefacts, and should be restricted to specific cases.
Other general parameters
IOR
IOR is the main Index Of Refraction control, and drives the Spec1 blending and Glass refracted direction. Higher values produce stronger speculars, and increase the refraction distortion.

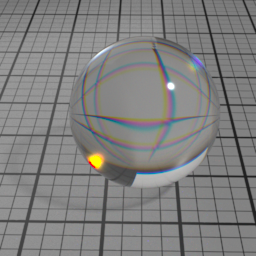
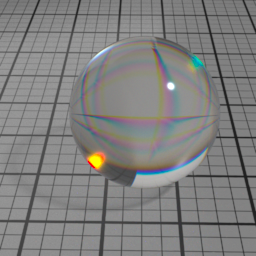
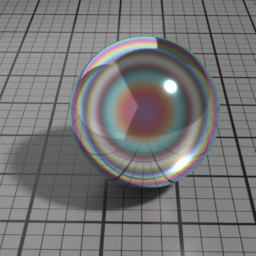
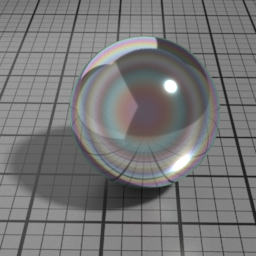
Dispersion
Dispersion controls how much IOR is dependent on the wave length of light, and how much light is dispersed in the Glass layer. Spectral must be enabled to use this.
Incandescence
Incandescence is the material self-illumination color.

Anisotropy Rotation
Anisotropy Rotation controls the rotation of the principal anisotropy direction.


Diffuse Parameters
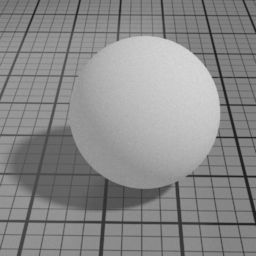
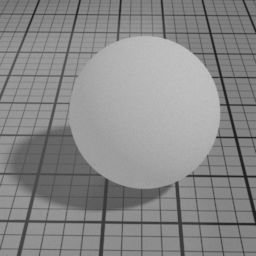
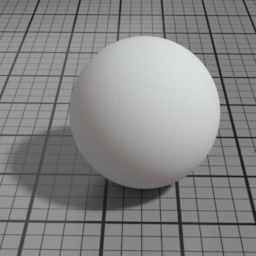
Roughness
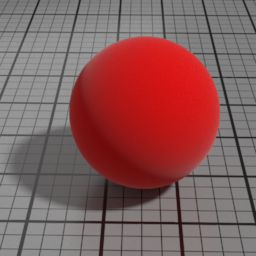
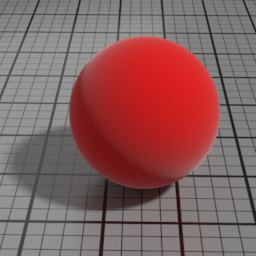
Roughness controls the roughness of the Oren-Nayar Diffuse layer. Set to 0 for a pure Lambert diffuse. Higher values produce matte materials.
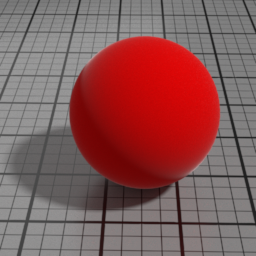
Color
The color of the Diffuse layer.

Translucence Color
The color of the Translucent layer (as an opposite diffuse.) Translucence is useful to simulate thin objects, such as a sheet of paper, curtains or tree leaves. Note that translucence requires that the actual geometry is a single face. Thick objects should fallback on SSS instead.

Cell Sharpness
Diffuse Cell Sharpness sharpens the penumbra area of the diffuse, to render cell-like diffuse.


Cell Center
Diffuse Cell Center displaces the penumbra area of the diffuse towards the front of the light.
Velvet Parameters
Roughness
Velvet Roughness controls the roughness of the Velvet layer. Smaller values produce sharper highlights at grazing angles, while higher values produces smoother diffuse effect.

Color
The color of the Velvet layer.


IOR
Velvet IOR controls, along with Velvet the strength of the Velvet layer. High values produce stronger highlights.
Spec1 Parameters
Roughness
Spec1 Roughness controls the roughness of the Spec1 layer. Smaller values produce sharper, stronger highlights, while higher values produce diffuse, dimmer highlights.


Color
The color of the Spec1 layer.

Anisotropy
Spec1 Anisotropy controls the prefered orientation of the specular highlight. 0.5 is neutral, and other values stretch the highlight in a direction or its perpendicular.


Metal Parameters
Roughness
Metal Roughness controls the roughness of the Metal layer. Smaller values produce sharper, stronger highlights, while higher values produce diffuse, dimmer highlights.

Color
The color of the Metal layer.


Profile
Alternatively, you can use a measured metal profile from the RefractiveIndex.INFO database.
Anisotropy
Metal Anisotropy controls the prefered orientation of the specular highlight. 0.5 is neutral, and other values stretch the highlight in a direction or its perpendicular.

Iridescence
Metal Iridescence simulates interference fringes on the metal layer, as would a thin slab of oil on metal. 0 disables iridescence, higher values produce stronger iridescence.

Iridescence Wave
Metal Iridescence Wave controls the frequency of the iridescence. Higher values produces higher frequencies.
Multiple Scattering
At higher roughness, the GGX specular model shows visible loss of energy, this is particularly noticeable on metals. Metal Multiple Scattering simulates the internal reflections to account for this loss of energy.

Spec2 Parameters
Roughness
Spec2 Roughness controls the roughness of the Spec2 layer. Smaller values produce sharper, stronger highlights, while higher values produce diffuse, dimmer highlights.

Color
The color of the Spec2 layer.

Anisotropy
Spec2 Anisotropy controls the prefered orientation of the specular highlight. 0.5 is neutral, and other values stretch the highlight in a direction or its perpendicular.


IOR
Spec2 IOR controls the Spec2 layer Index Of Refraction. Higher values produce stronger speculars, and attenuate the underlying layers.
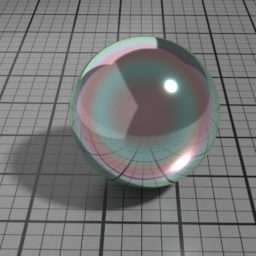
Absorption Color
Spec2 Absorption Color simulates the absorption color of the clear coat layer. This color affects the appearance of underlying layers, not the color of the Spec2 itself, which uses Spec2 Color. Pure white disables absorption.
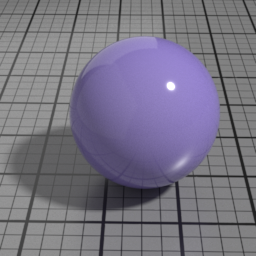
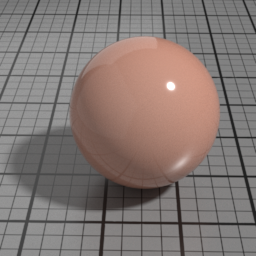
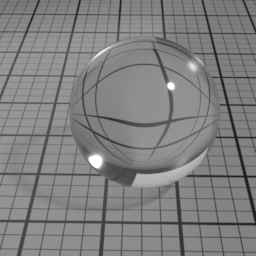
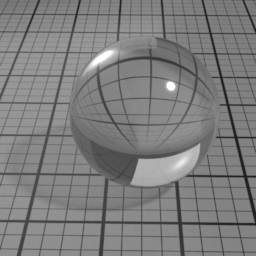
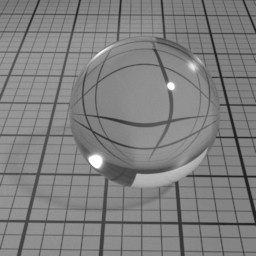
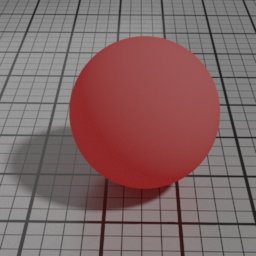
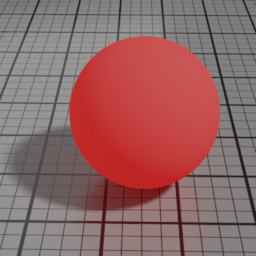
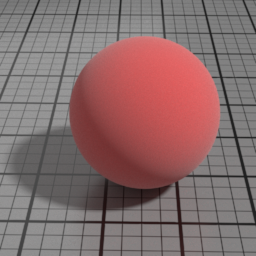
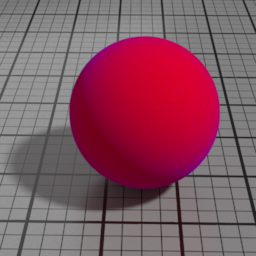
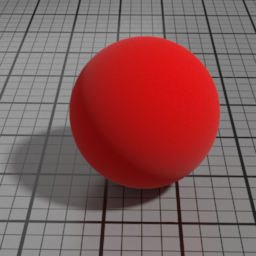
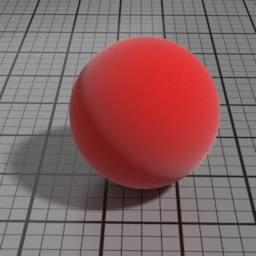
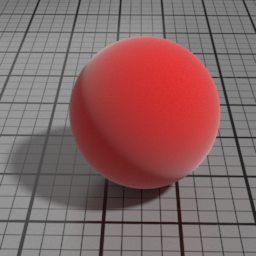
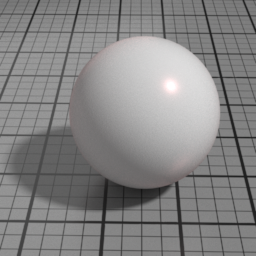
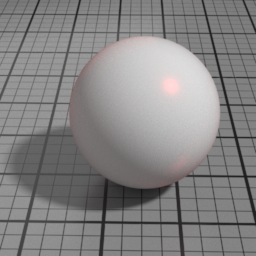
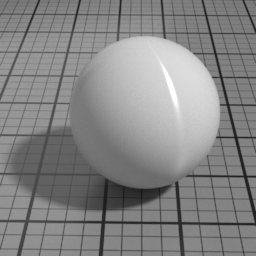
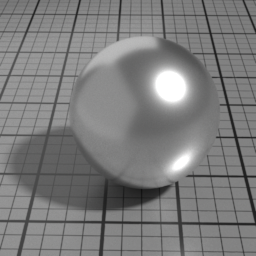
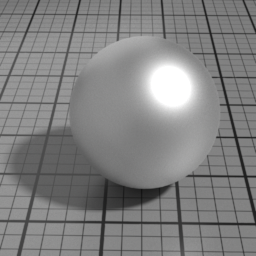
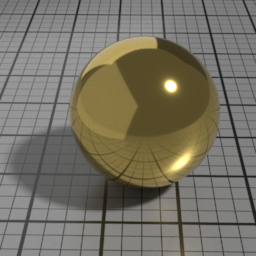
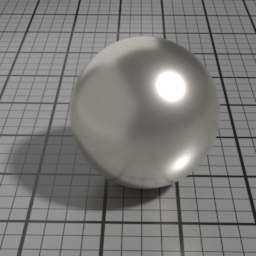
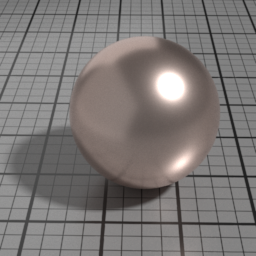
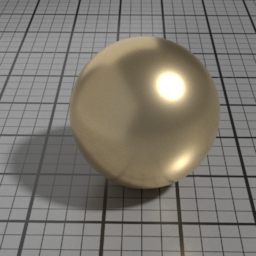
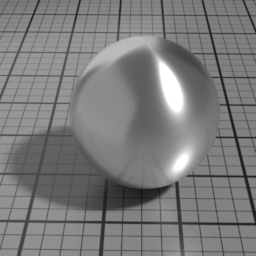
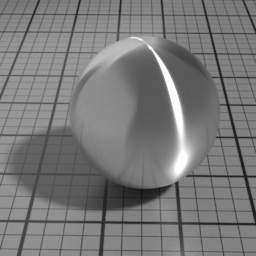
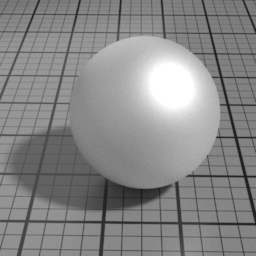
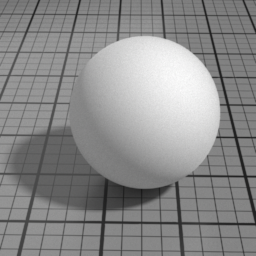
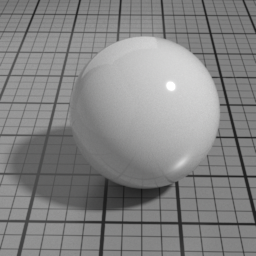
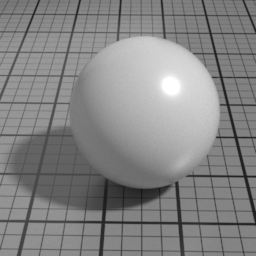
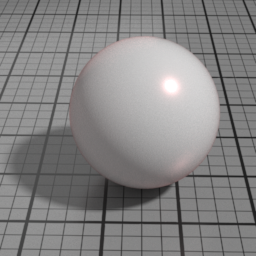
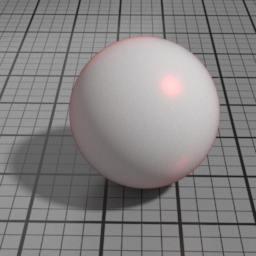
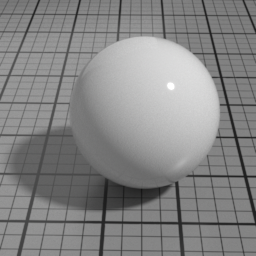
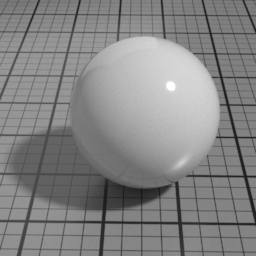
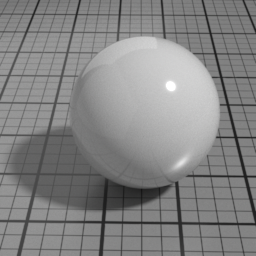
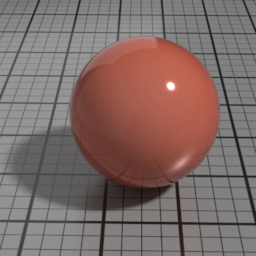
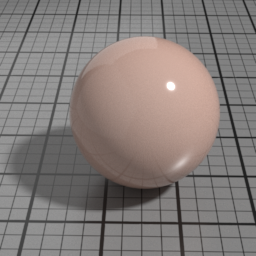
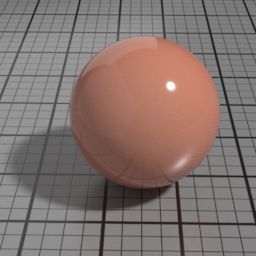
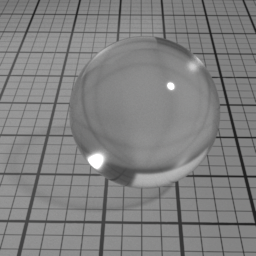
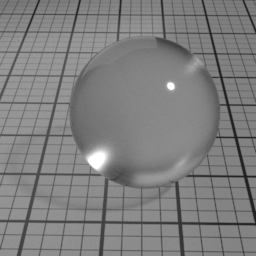
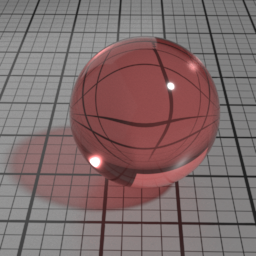
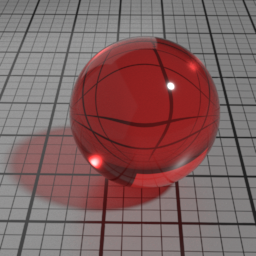
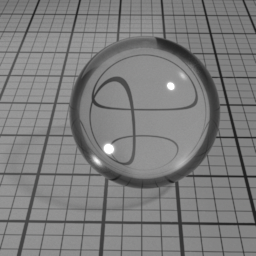
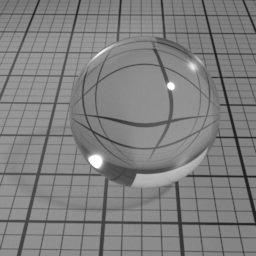
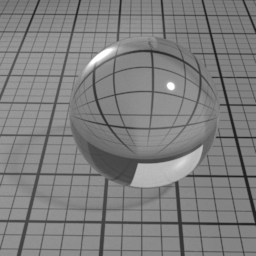
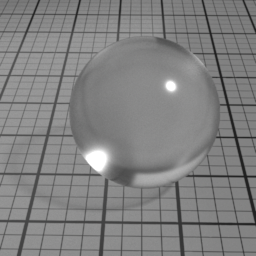
The Spec2 layer can be used over different types of layers, as shown in the following examples:
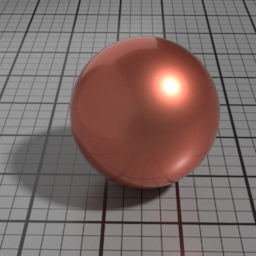

Thickness
Spec2 Thickness controls the thickness or the density of the absorbing coating. Increasing this results in darker, more saturated rendering.

Dirt Parameters
Roughness
Dirt Roughness controls the roughness of the Oren-Nayar Dirt layer. Set to 0 for a pure Lambert diffuse. Higher values produce matte materials.

Color
The color of the Dirt layer.

SSS Parameters
Use Diffuse Color
SSS Use Diffuse Color blends the actual SSS color between the Diffuse Color and the SSS Color.
Width
SSS Width controls the scattering distance of the SSS layer.
Layer 1 Color
SSS Layer 1 Color controls the color of the first SSS lobe.

Layer 1 Width
SSS Layer 1 Width controls the relative width of the first SSS lobe. Scaling the global SSS Width will also scale the different SSS lobes.
Front Scattering
SSS Front Scattering multiplies the lighting of front facing lights.
Back Scattering
SSS Back Scattering multiplies the lighting of back facing lights.
Blur
SSS Blur controls the blurring of the Diffuse/SSS color between the light entry point and the light exit point. 0 does not blur the texture, 0.5 blurs equivalently between the entry and exit point, while 1 fully blurs.
Glass Parameters
Roughness
Glass Roughness controls the roughness of the Glass layer. Set to 0 for a perfectly smooth glass. Higher values produce a frosted glass appearance.

Color
Glass Color controls the color of refracted light. Note that this color is not dependent of the distance the light travels inside the glass object. To color the light through the glass, use the Absorption volume shader instead.

IOR
When Glass IOR is left to 0, the global IOR parameter controls the refraction direction. Yet, it is possible to control the refraction independently when using a value different from 0.
Mode
Glass Mode controls the type of glass to render. 'Double Sided' is a thick object, such a glass ball or a puddle of water. 'Thin Glass' is a thin object where the refraction change of direction is negligeable, such as a flat window or a light bulb. 'Transparent Glass' is also a thin object, but specifically rendered using opacity. Note that the Glass Roughness is not possible using 'Transparent Glass'.
Opacity Parameters
Mask
Opacity Mask controls the global opacity of the surface. 1 is fully opaque, and 0 is fully transparent. Inbetween values produces semi transparent surface.